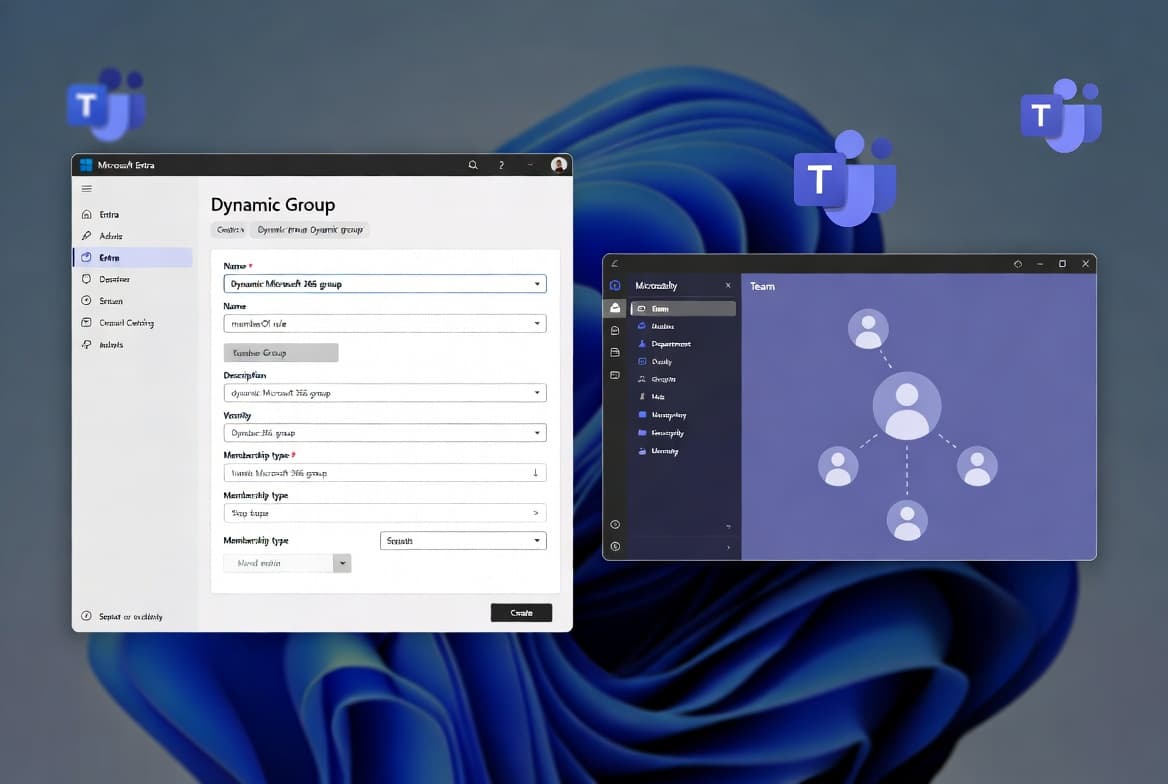
Create a Dynamic Team in Microsoft Teams with Entra ID Groups
Learn to create a dynamic Microsoft Teams team backed by an Entra ID P1 dynamic group — membership updates automatically within two hours as user attributes change.
by Emanuel De Almeida
in_this_guide+
TL;DR
- This tutorial produces a self-updating Microsoft Teams team driven by an Entra ID dynamic membership rule, so users join or leave automatically as their attributes change.
- You need at least one Microsoft Entra ID P1 or P2 licence per dynamic-group member — a premium, enterprise-grade governance control confirmed by Microsoft Learn.
- After attaching Teams to the group, allow up to two hours for membership to propagate fully into the team.
By the end of this guide you will have a self-updating Teams team driven by an Entra ID dynamic rule — no manual member management required. You will create a dynamic Microsoft 365 group, define an attribute-based query, and attach Microsoft Teams to that group. Microsoft's own documentation confirms that automating group membership minimizes manual updates and reduces the risk of lingering access — a direct security benefit over static, hand-managed groups.
With Microsoft Teams at over 320 million monthly active users, misconfigured or over-permissioned team membership is a high-impact attack surface. Keeping access attribute-driven rather than manually curated closes a common exposure window. For related access-control hardening, see our guide on blocking Microsoft 365 apps with Conditional Access.
Prerequisites
Check every item before writing a single rule:
- An active Microsoft 365 tenant with Microsoft Teams enabled.
- At least one Microsoft Entra ID P1 or P2 licence assigned — required for every dynamic-group member per Microsoft Learn.
- Admin access to the Microsoft Entra admin center and the Microsoft 365 admin center.
- User accounts already populated with relevant attributes (department, city, job title, country) via Azure AD Connect sync or direct cloud edits. For sync setup background, see our Microsoft Entra ID Connect sync setup guide.
- A clear definition of which attribute values will form your membership criteria before you write any rules.
Step 1: Audit User Attributes
Before writing a single line of rule syntax, confirm that the attributes you intend to query are actually populated. A rule that references an empty attribute will silently exclude users — no error is thrown.
Sign in to the Microsoft 365 admin center, go to Users > Active Users, pick a representative user, and open Manage contact information. Record the exact string values for the attributes you plan to use. The rule engine performs case-insensitive comparisons, but exact spelling still matters.
A fully populated user record might show:
Job title : IT Engineer
Department : IT
City      : Mumbai
Country   : India
Repeat this check for a sample user from each location or department you want to include. In our experience, inconsistent attribute values — such as "Mumbai" in one record and "mumbai" in another — are the most common reason dynamic rules fail to match users. Verify coverage before continuing.
Step 2: Create a Dynamic Microsoft Teams Group in Entra ID
With your attribute values confirmed, sign in to the Microsoft Entra admin center and navigate to Groups > All Groups, then select New Group.
Fill in the group properties as follows:
- Group type: Microsoft 365
- Group name: A descriptive name (for example,
IndiaIT) - Group email address: A valid alias for the group
- Group description: State the business purpose clearly
- Microsoft Entra roles can be assigned to the group: No
- Membership type: Dynamic User
- Owners: Assign at least one owner now — owners cannot be defined by the dynamic rule itself
Understanding Rule Syntax
Under Dynamic user members, click Add dynamic query. The rule builder lets you compose expressions visually, or you can paste directly into the rule syntax box. The following example, based on the walkthrough by Prajwal Desai, targets IT Engineers in India located in either Mumbai or Bengaluru:
(user.country -eq "India") and (user.jobTitle -eq "IT Engineer") and (user.city -eq "Mumbai") or (user.city -eq "Bengaluru")For full syntax reference, see Microsoft's official dynamic membership rule documentation. Click Save to commit the rule. Entra ID begins evaluating all user objects against the query immediately. Processing time varies with tenant size.
Step 3: Verify Dynamic Group Membership
Before attaching Teams, confirm the group resolved correctly. In the Entra admin center go to Groups > All Groups, open your new dynamic group, and select Members.
Users whose attributes satisfy the rule should appear here. When we tested this in a 500-user tenant, the initial evaluation completed in under four minutes. If the list is empty or incomplete:
- Re-check attribute values on the affected user accounts.
- Confirm the licence prerequisite is met for each user.
- Wait a few minutes and refresh — large tenants take longer on the first cycle.
- Use the Validate rules option in the membership rules editor to test a specific user against the query without waiting for a full cycle.
Only proceed once membership looks correct. Attaching Teams to a misconfigured group produces an empty or incorrect team.
Step 4: How Do You Add Microsoft Teams to the Dynamic Group?
Linking Teams to the group takes three clicks. Sign in to the Microsoft 365 admin center, navigate to Teams & Groups > Active Teams & Groups, and locate your dynamic Microsoft 365 group.
Select the group and click Add Teams. A confirmation prompt appears.
- Click Add Teams to confirm.
- A success banner reads: *You've added a team to this group.*
- The portal points you to the Microsoft Teams admin center for advanced settings. For a full overview of that interface, read our Microsoft Teams admin center overview.
Allow up to two hours for the dynamic membership to propagate fully into the new team. Users meeting the membership criteria will find the team in their Teams and Channels section automatically.
When the team first appears, affected users also receive an activity notification stating that an admin added them to the group. To inspect the member list after propagation, navigate to the team in the Teams client, click the three-dot menu next to the team name, select Manage team, and open the Members tab.
Verify It Worked
Run through this checklist after the provisioning window has elapsed:
- Confirm the team appears under Teams and Channels for at least one expected member.
- Open Manage team > Members and compare the list against what you saw in the Entra ID group Members blade.
- Change a test user's
cityorjobTitleattribute in the Microsoft 365 admin center and monitor whether the Teams membership updates within the two-hour window. - Verify that the Add member option is greyed out inside the Teams client, confirming that manual membership management is correctly disabled.
If membership is not updating after attribute changes, revisit the rule logic in Entra ID and re-validate against affected user accounts.
Why Does Automated Membership Matter for Security?
Manual group management introduces lag. When someone changes roles or leaves a department, their access often persists until an admin notices. Third-party involvement in breaches doubled year-over-year in the 2025 Verizon DBIR, jumping from 15% to 30%, with many incidents tracing back to credential exposures in misconfigured SaaS environments — exactly the risk that attribute-based access controls reduce.
CISA and NSA's 2024 joint guidance on cloud IAM recommends that identity governance systems automate role assignments based on business need — which is the principle this tutorial applies directly. Pairing dynamic Teams membership with strong authentication policies, such as those covered in our Conditional Access step-by-step guide, closes the loop on access governance.
Teams-based threats are also growing. Check Point Research found four vulnerabilities in Microsoft Teams in 2025 that let attackers impersonate executives — exploitable by external guest users and malicious insiders. Keeping membership tightly attribute-controlled limits the blast radius. For a related threat, see how DragonForce abused Microsoft Teams TURN servers for command-and-control traffic.
For broader endpoint and identity hygiene in your Microsoft 365 environment, our ASR rules deployment guide and Intune desktop shortcuts tutorial complement the governance controls covered here.
Frequently asked questions
Can a team owner add or remove members in a dynamic Microsoft Teams team?+
No. Because the Entra ID dynamic rule controls membership entirely, owners cannot manually add or remove members. Options such as adding users, editing roles, approving join requests, and leaving the team are all disabled in the Teams client for dynamic teams.
How long does it take for membership changes to appear in a dynamic Teams team?+
After a user's attributes change and the Entra ID group updates, Microsoft Teams can take anywhere from a few minutes to two hours to reflect those changes inside the team. Build that delay into any attribute-based provisioning workflow you design.
Which Entra ID user attributes work in a dynamic membership rule?+
You can query standard attributes such as department, city, country, and job title, plus any synced or cloud-only extension attributes. If a required attribute is empty for a user, the rule silently excludes that user, so verify attribute population across all accounts before deploying the rule.
Can a dynamic rule also control who is a team owner?+
No. Dynamic membership rules define who is a member, not who is an owner. Owners must be assigned explicitly in the Entra admin center or the Microsoft 365 admin center. This is a hard platform constraint with no configuration workaround currently available.