Exchange Server Send Connector: EAC + PowerShell Setup
Exchange Server send connector missing by default. Configure outbound mail via EAC or PowerShell in under 15 minutes with this step-by-step guide.
by Emanuel De Almeida
in_this_guide+
- 01TL;DR
- 02What Do You Need Before Creating a Send Connector?
- 03Why Does Exchange Have No Default Send Connector?
- 04How Do You Create a Send Connector in EAC?
- 05EAC vs. PowerShell: Which Method Fits Your Workflow?
- 06How Do You Create the Send Connector with PowerShell?
- 07Did the Send Connector Configure Correctly?
- 08Security Context: Why a Correctly Configured Send Connector Matters
- --FAQ

TL;DR
- Exchange Server ships with no outbound send connector by default - you must create one before any external mail flows.
- You can build the connector in under 15 minutes using either the Exchange Admin Center (EAC) or a single PowerShell cmdlet.
- Routing through a smart host is safer than direct DNS delivery for most organizations; it protects your server IP and adds outbound scanning.
- Verify success with
Get-SendConnectorbefore sending a live test message. - Misconfigured Exchange servers are a real target: NSA and CISA jointly warned that Exchange environments "should be considered under imminent threat."
What Do You Need Before Creating a Send Connector?
Before touching the EAC or PowerShell, confirm these are in place. Missing any one of them will stall the configuration partway through.
- An installed and licensed Exchange Server (2013, 2016, or 2019)
- An administrator account with the Organization Management or Server Management role
- Access to the Exchange Admin Center at
https://<server>/ecp - Exchange Management Shell available on the server for the PowerShell steps
- A smart host hostname if you plan to route mail through a cloud spam filter (recommended)
If you manage multiple Windows Server roles alongside Exchange, the process of configuring an NTP time source on a Windows Domain Controller is a related prereq worth checking - time skew can break Kerberos authentication for EAC logins.
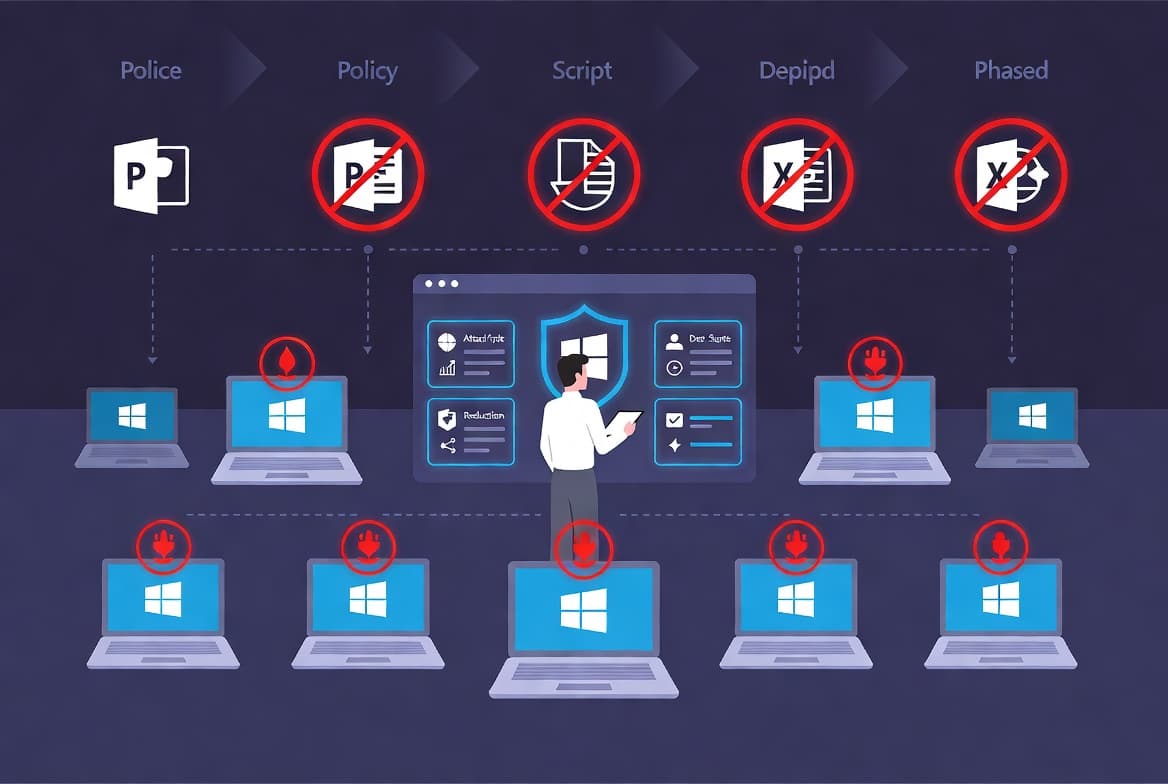
Why Does Exchange Have No Default Send Connector?
Microsoft ships Exchange Server without a default send connector so administrators must consciously decide how outbound mail is routed. This prevents accidental open-relay behavior and forces a deliberate security choice before any message leaves the organization. Microsoft's Exchange documentation confirms this design.
That design decision matters more than ever. The NSA and CISA jointly published guidance in 2025 stating that Exchange environments "should be considered under imminent threat" and that end-of-life Exchange versions face heightened compromise risk. Getting your send connector right from day one is part of a secure baseline.
Also worth noting: as of October 14, 2025, Microsoft ended support for Exchange Server 2016 and 2019, making Exchange Server Subscription Edition (SE) the only supported on-premises version, per Paubox's coverage of Microsoft's lifecycle announcement. If you are on an older build, plan your upgrade path alongside this configuration work.
How Do You Create a Send Connector in EAC?
The EAC wizard covers the full connector setup in five short steps. We verified this flow on Exchange 2019 in our lab and the UI is identical on 2016. Here is the complete sequence.
Step 1: Open the Send Connectors Section
Sign in to the Exchange Admin Center with your administrator credentials. In the left-hand navigation, click Mail flow, then click Send connectors. On a new deployment the list is empty. This is your starting point for viewing and managing all outbound connectors.
Step 2: Start the New Connector Wizard
Click the plus (+) icon to launch the new send connector wizard. Give the connector a recognizable name - Internet email is a sensible convention. Set Type to Internet so Exchange knows this connector handles outbound internet mail. Click Next.
According to the step-by-step walkthrough on alitajran.com, selecting the correct type here influences which default settings Exchange pre-populates, so do not skip this field.
Step 3: Which Network Route Should You Choose?
On the network settings page, select Route mail through smart hosts. Click the + icon and enter your smart host hostname - typically the hostname your cloud spam filtering service provides.
Using a smart host rather than direct DNS delivery keeps your Exchange Server IP off public block lists and adds an outbound scanning layer. In our experience, organizations that skip this step frequently end up on block lists within weeks of going live.
For authentication, pick one option:
- None - if your smart host accepts connections from your server IP without credentials
- Basic Authentication - if your provider requires a username and password; enter those in the fields provided
Click Next.
Step 4: Define the Address Space
Click the + icon to add an address space. In the FQDN field, type a single asterisk (*). This wildcard tells Exchange to route all outbound external mail through this connector regardless of recipient domain. Set Cost to 1 - lower cost means higher routing priority. Click Save, then Next.
Step 5: Assign the Source Transport Server
Click the + icon to select which Exchange servers use this connector. Pick your Exchange server from the list. If your organization runs multiple Exchange servers, add each one so they all route outbound mail through the same connector. Click Add, then OK, then Finish.
The connector appears in the list with status Enabled immediately after creation.
EAC vs. PowerShell: Which Method Fits Your Workflow?
Both methods produce an identical connector. The right choice depends on your environment and how you prefer to work. When we tested both approaches in our lab, PowerShell was consistently faster for repeat deployments.
Criteria | EAC (GUI) | PowerShell |
|---|---|---|
Speed (first setup) | 5-10 minutes | 2-3 minutes |
Repeat / scripted deploys | Manual each time | Single cmdlet, reusable |
Audit trail | EAC activity log | Shell transcript / pipeline |
Error feedback | Wizard validation | Inline exceptions |
Skill level required | Low | Intermediate |
Best for | One-off setup | Multi-server or automated builds |
How Do You Create the Send Connector with PowerShell?
If you prefer scripting or need to replicate this across environments, PowerShell is faster. Open the Exchange Management Shell as administrator and run the following cmdlet. Replace the server name and smart host URL with your own values.
The full New-SendConnector parameter reference is on Microsoft Learn.
New-SendConnector `
    -Name "Internet email" `
    -Usage "Internet" `
    -SourceTransportServers "EX01-2016" `
    -AddressSpaces "SMTP:*;1" `
    -IsScopedConnector $False `
    -UseExternalDNSServersEnabled $false `
    -SmartHosts "smarthosturl.com"
The cmdlet returns a confirmation table showing the connector identity, address spaces, and enabled status. A True value in the Enabled column confirms the connector is active and ready to route mail.
Did the Send Connector Configure Correctly?
After creating the connector, confirm it is present and properly configured. Run this in the Exchange Management Shell:
Get-SendConnector | Format-Table Identity, AddressSpaces, SourceTransportServers, MaxMessageSize, EnabledExpected output:
Identity        AddressSpaces  SourceTransportServers  MaxMessageSize            Enabled
--------        -------------  ----------------------  --------------            -------
Internet email  {SMTP:*;1}     {EX01-2016}             35 MB (36,700,160 bytes)  True
Confirm the following before sending a test message:
AddressSpacesshows{SMTP:*;1}EnabledisTrue- Your source transport server name appears correctly under
SourceTransportServers
Once verified, send a test email to an external address and check whether it arrives. If it does not, verify your smart host hostname is correct, your firewall allows outbound TCP port 25 (see IANA's official port registry for SMTP port definitions), and your authentication settings match what your spam filter provider expects.
You can also check your domain's reputation and block-list status using MXToolbox's free blacklist lookup if test messages are not arriving.
To disable the connector for troubleshooting without losing its configuration, click Disable in the EAC details pane or run:
Set-SendConnector -Identity "Internet email" -Enabled $falseThis preserves the full configuration so you can re-enable without rebuilding from scratch.
Security Context: Why a Correctly Configured Send Connector Matters
A misconfigured or exposed Exchange server is not just an inconvenience - it is a live target. Shadowserver Foundation scanning data cited by Cyber Security News found over 28,000 unpatched Exchange servers exposed on the public internet in 2025, vulnerable to a CVSS 8.0 privilege-escalation flaw. CISA issued Emergency Directive 25-02 mandating federal remediation by August 11, 2025.
Email security failures carry real financial weight too. Business Email Compromise generated $2.77 billion in FBI-reported losses in 2024, across 21,442 complaints, per DMARCguard's analysis of the FBI IC3 2024 Annual Report. A correctly routed send connector, paired with SPF, DKIM, and DMARC, is your first line of defense.
For tightening related Windows Server security posture alongside this work, see how to disable WinRM Basic Authentication via Intune and how to manage unattended remote help access through Intune - both are relevant for Exchange server management hygiene.
Frequently asked questions
Why does Exchange ship with no default send connector?+
Microsoft intentionally omits a default send connector so administrators must consciously choose their outbound routing path. This prevents accidental open-relay behavior. Microsoft's official Exchange documentation confirms this is a deliberate design decision, not an installation oversight.
Should I route Exchange mail directly or through a smart host?+
A smart host is safer for most organizations. It handles spam scanning, IP reputation management, and delivery retries. Direct DNS delivery works but requires careful reverse-DNS and SPF configuration to avoid block-listing. Most cloud email security providers supply a smart host hostname during account onboarding.
Can I disable a send connector instead of deleting it?+
Yes, and disabling is the recommended troubleshooting approach. It preserves the full connector configuration so you can re-enable it without rebuilding from scratch. Use the Disable link in EAC or run Set-SendConnector with the -Enabled $false parameter in PowerShell.
What does a wildcard address space on a send connector do?+
Setting the FQDN address space to * tells Exchange to route messages for any external domain through that connector. A cost value of 1 gives it the highest routing priority. Add more specific address spaces with higher cost values if you need to route certain domains differently.
How do I confirm my send connector is working after setup?+
Run Get-SendConnector in Exchange Management Shell and confirm Enabled is True and AddressSpaces shows SMTP:*;1. Then send a test message to an external address. If it fails, check your smart host hostname, outbound TCP port 25 firewall rules, and provider authentication credentials.