Azure AD Password Writeback: Step-by-Step Setup
Enable Azure AD password writeback in 15 min - requires Azure AD Connect 1.0.8641.0+ and an AAD Premium P1 license. Step-by-step hybrid identity guide.
by Emanuel De Almeida
in_this_guide+
- 01TL;DR
- 02Prerequisites
- 03Step 1: Open the Azure AD Connect Configuration Wizard
- 04Step 2: Navigate to Optional Features
- 05Step 3: Enable Password Writeback in Azure AD Connect
- 06Step 4: Enable Password Writeback in Azure AD SSPR
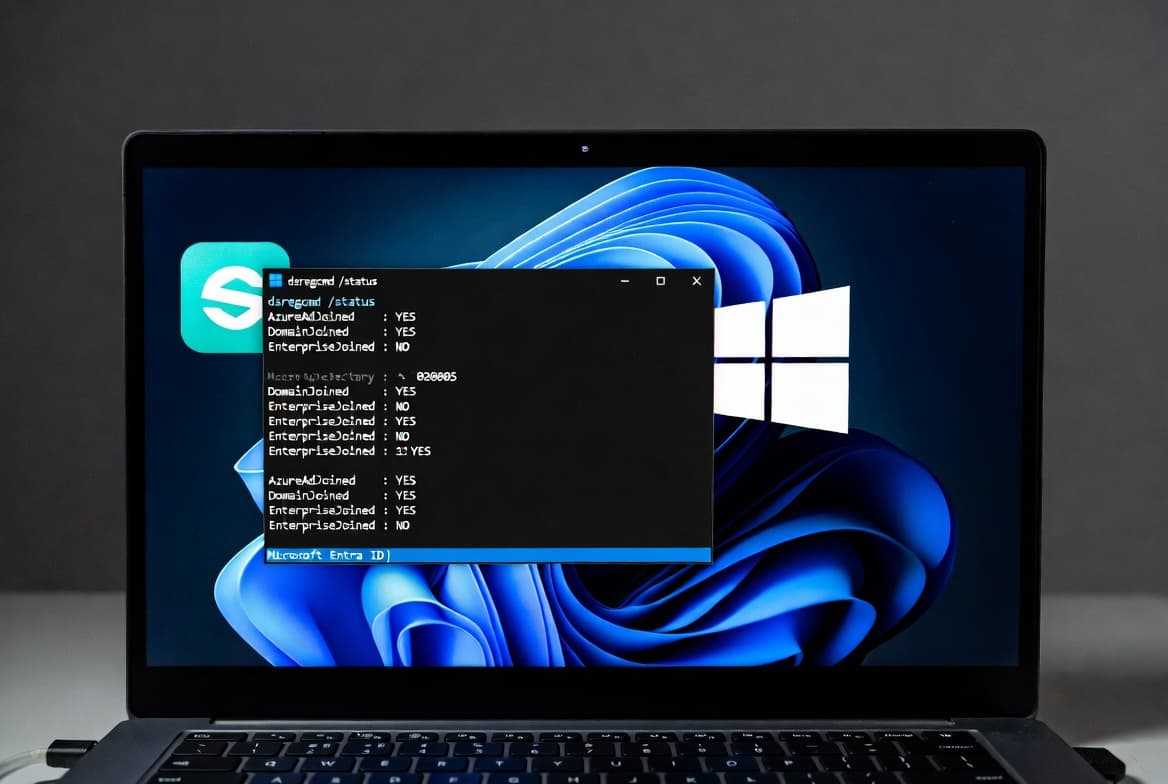
- 07Step 5: Confirm the On-Premises Integration Status
- 08How to Verify Password Writeback Is Working
- --FAQ
TL;DR
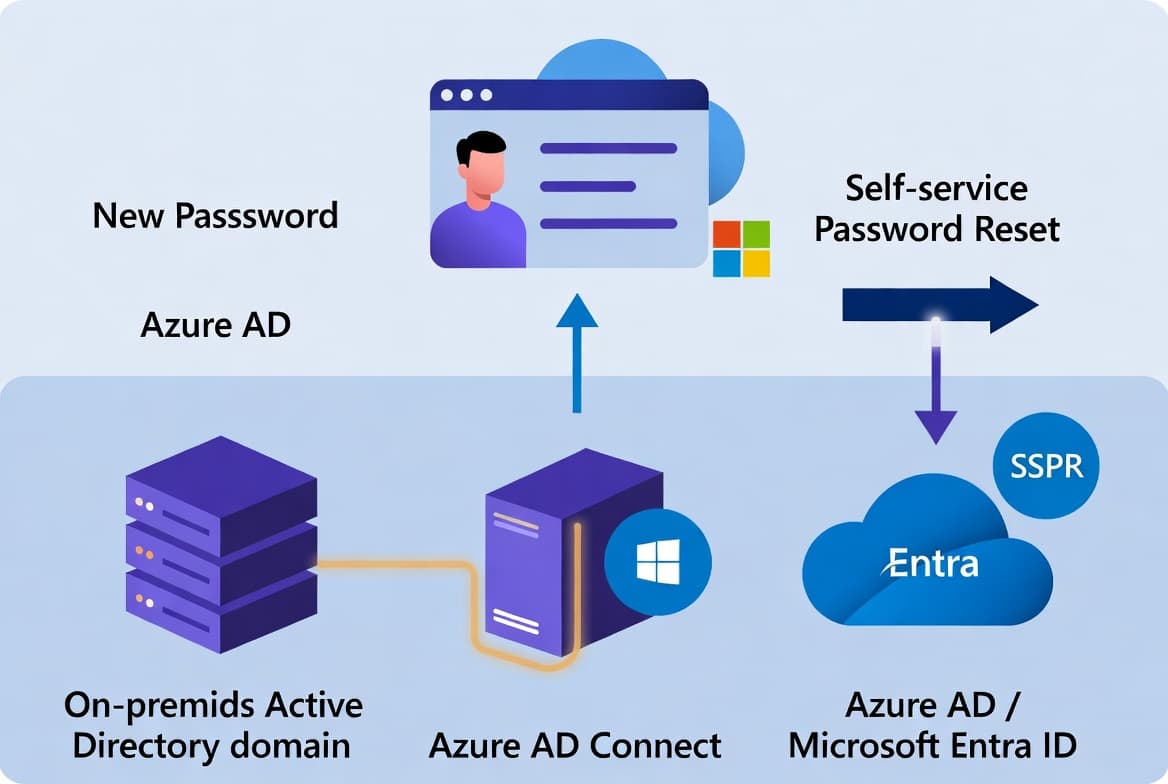
- Password writeback lets cloud-initiated password resets sync back to your on-premises Active Directory automatically.
- You need Azure AD Connect newer than version 1.0.8641.0, an Azure AD Premium P1 (or equivalent) license, and SSPR enabled.
- The full setup takes roughly 15 minutes, plus up to 30 minutes for the first sync cycle to confirm the result.
This guide shows you how to enable and configure password writeback in a hybrid Azure AD (Entra ID) environment. By the end, your users can reset or change passwords in the cloud and have those changes written back automatically to your on-premises Active Directory, keeping both directories in sync.
Password problems are expensive to ignore. Gartner research (via Avatier) estimates that between 20% and 50% of all help desk calls are password resets, costing organizations between $70 and $100 per manual reset. Self-service writeback eliminates most of that overhead. For context on why credential hygiene matters beyond cost, see how broken Entra access controls exposed FIFA World Cup streams when identity configurations were left misconfigured.
Prerequisites
Before starting, confirm every item on this list. Missing any one of them will cause the configuration to fail silently or not appear in the wizard.
- A hybrid Azure AD environment with Azure AD Connect already installed and running.
- Azure AD Connect must be newer than version 1.0.8641.0 - older builds do not support password writeback. See Microsoft's Azure AD Connect documentation for current build details.
- One of the following licenses assigned on your tenant (full list on the Microsoft licensing page):
- Azure AD Premium P1
- Azure AD Premium P2
- Enterprise Mobility + Security E3 or A3
- Enterprise Mobility + Security E5 or A5
- Microsoft 365 E3 or A3
- Microsoft 365 E5 or A5
- Microsoft 365 F1
- Microsoft 365 Business
- A Global Administrator account for both the on-premises AD Connect server and the Azure portal.
- SSPR (Self-Service Password Reset) enabled on your tenant. If you have not set that up yet, the SSPR setup guide for hybrid environments covers the prerequisite steps.
Step 1: Open the Azure AD Connect Configuration Wizard
Log on to the server running Azure AD Connect. This is your on-premises sync server, not a domain controller. Launch the Azure AD Connect application - it opens directly to the Welcome screen.
On the Welcome page, select Configure rather than Express Settings. You need the full task menu to reach the optional features panel.
Before going further, verify the installed version:
# Verify the installed Azure AD Connect version before proceeding
Get-WmiObject -Class Win32_Product | Where-Object { $_.Name -like "*Azure AD Connect*" } | Select-Object Name, Version
Confirm the returned version is higher than 1.0.8641.0. If it is not, update Azure AD Connect first, then return to this guide.
Step 2: Navigate to Optional Features
Work through the configuration wizard pages in order. Only the Optional features page requires a change - click through everything else.
- On the Additional tasks page, choose Customize synchronization options, then select Next.
- On the Connect to Azure AD page, enter your Global Administrator credentials and select Next.
- Click through the Connect directories page without changes.
- Click through the Domain/OU filtering page without changes.
You will arrive at the Optional features page. This is where password writeback lives.
Step 3: Enable Password Writeback in Azure AD Connect
On the Optional features page, locate the Password writeback checkbox and enable it. Leave all other checkboxes at their current state unless you have a separate reason to change them.
Optional features page checklist
----------------------------------
[x] Password writeback        <-- enable this
[ ] Group writeback           (leave as-is unless needed)
[ ] Device writeback          (leave as-is unless needed)
Select Next, then select Configure. The wizard applies the change and displays: Azure AD Connect configuration succeeded. Once the wizard closes, the sync engine picks up the new configuration on its next scheduled run.

Step 4: Enable Password Writeback in Azure AD SSPR
With Azure AD Connect configured, activate the writeback option on the Azure AD side. Open the Azure portal and sign in with a Global Administrator account.
Navigate to:
Azure Active Directory
  └── Password Reset
        └── On-premises integration
Set both options:
- Write back passwords to your on-premises directory - set to Yes.
- Allow users to unlock accounts without resetting their password - set to Yes (recommended for help desk offload).
Click Save. The portal confirms the settings immediately. This step is required even after completing the Azure AD Connect wizard - neither side activates writeback alone.
Step 5: Confirm the On-Premises Integration Status
After saving, stay on the On-premises integration blade. The status indicator should now read On-premises integration has been enabled. If the blade previously showed "On-premises integration has not been enabled yet", that warning clears as soon as the save completes successfully.
Expected portal status after configuration
-------------------------------------------
On-premises integration:  Enabled
Writeback status:         Active
Before you test, allow one full synchronization cycle - up to 30 minutes by default. This matters because the Azure AD Connect sync engine writes the updated feature flag to the connector space first, then propagates it to the on-premises AD during the next delta sync run. If you test too early, the password change reaches Azure AD but finds no active writeback channel yet, and the reset fails silently with no user-facing error. Waiting the full cycle rules out that timing issue entirely.
How to Verify Password Writeback Is Working
Test the end-to-end flow with a pilot user account before rolling out to all users. A controlled test catches misconfigured AD complexity policies or firewall rules before they affect everyone.
- Open the Microsoft SSPR portal in a private browser window.
- Complete the identity verification steps for a hybrid user account.
- Reset the password to a value that meets your on-premises AD complexity policy.
- On a domain-joined machine, attempt to log in with the new password.
If the on-premises login succeeds, writeback is functioning correctly. Check the Azure AD audit logs under Azure Active Directory - Audit logs, filtering by category Self-service Password Management to see the writeback events.
To inspect the sync engine logs directly on the Azure AD Connect server:
# View recent synchronization run details
Get-ADSyncConnectorRunStatus
Look for errors under the password writeback connector. An error-free run confirms the pipeline is healthy. If you manage other Windows identity configurations, the guide on Intune expedited Windows quality updates covers a similar verify-then-monitor pattern worth applying here.
For broader hybrid identity context, Gartner (via Semperis) found that only 3% of mid-sized and large organizations will fully migrate off on-premises Active Directory by 2025, which means hybrid writeback configurations like this one remain relevant for the vast majority of enterprises for years to come. And the stakes are real: Verizon's 2025 DBIR found stolen credentials were the single largest initial access vector, involved in 22% of all breaches - more than phishing at 16%. Getting password reset flows right closes one of the most exploited gaps in hybrid environments.
Frequently asked questions
Which licenses support password writeback in Azure AD?+
Password writeback requires Azure AD Premium P1 or P2, Enterprise Mobility + Security E3/A3 or E5/A5, Microsoft 365 E3/A3, E5/A5, F1, or Microsoft 365 Business. Assign the license at the tenant level before starting configuration or the option will not appear in the SSPR portal.
Will a cloud password reset bypass my on-premises AD complexity rules?+
No. Azure AD validates the new password against your on-premises Active Directory policy before writing it back. Complexity requirements, minimum password age, and any custom password filters in your local AD all apply. A reset that fails those checks is rejected before writeback completes.
What happens if Azure AD Connect is outdated?+
Password writeback stops functioning on Azure AD Connect version 1.0.8641.0 and any older build. The failure is often silent - users see a generic reset error with no clear cause. Update Azure AD Connect to the latest release before enabling writeback to avoid this issue.
Can users unlock their on-premises account without resetting their password?+
Yes. In the SSPR On-premises integration blade, set 'Allow users to unlock accounts without resetting their password' to Yes. Users can then clear an Active Directory lockout through the self-service portal without changing their password, which reduces unnecessary help desk calls.
How long does it take for password writeback to become active after configuration?+
Allow up to 30 minutes after saving both the Azure AD Connect and SSPR settings. The sync engine must complete one full delta synchronization cycle to propagate the updated feature flag to the on-premises connector. Testing before that cycle finishes can produce silent failures.