Intune Scope Tags: Step-by-Step Setup for Sysadmins
Learn how to create Intune scope tags in 6 steps, assign them to RBAC roles, and isolate admin visibility by department or region in Microsoft Intune.
by Emanuel De Almeida
in_this_guide+
- 01TL;DR
- 02Prerequisites
- 03Step 1: Plan Your Scope Tag Taxonomy
- 04Step 2: Create a Custom Scope Tag
- 05Step 3: Assign Scope Tags to an Intune Role
- 06Step 4: Tag Individual Devices
- 07Step 5: Apply Scope Tags When Creating Policies and Apps
- 08Step 6: Test Intune Scope Tag Visibility Isolation
- 09Troubleshooting Scope Tag Problems
- --FAQ
TL;DR
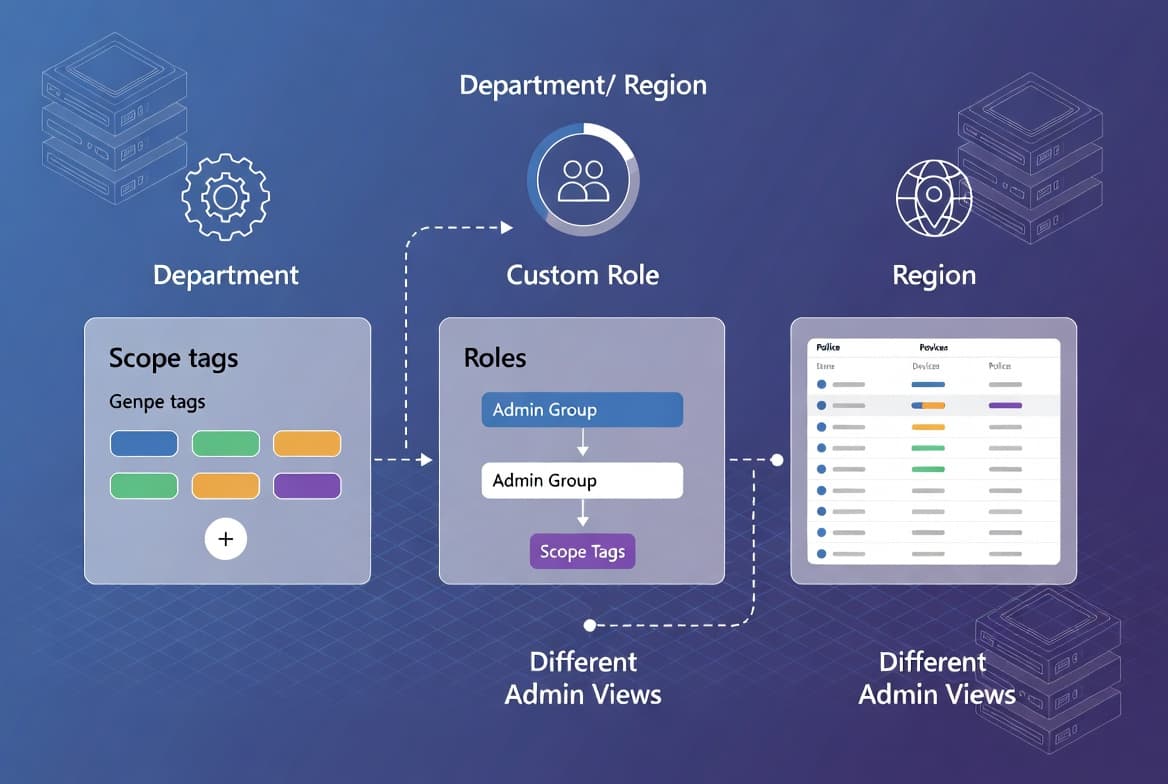
- Intune scope tags restrict what each admin can see and manage, giving you a clean, auditable delegation model across departments or regions.
- This guide covers 6 steps: plan your taxonomy, create tags, assign them to roles, tag devices, tag policies, and verify isolation.
- You need an active Intune subscription, Intune Administrator rights, and pre-built Entra ID security groups before you start.
- Total setup time for a two-region pilot is under 30 minutes once your planning table is ready.
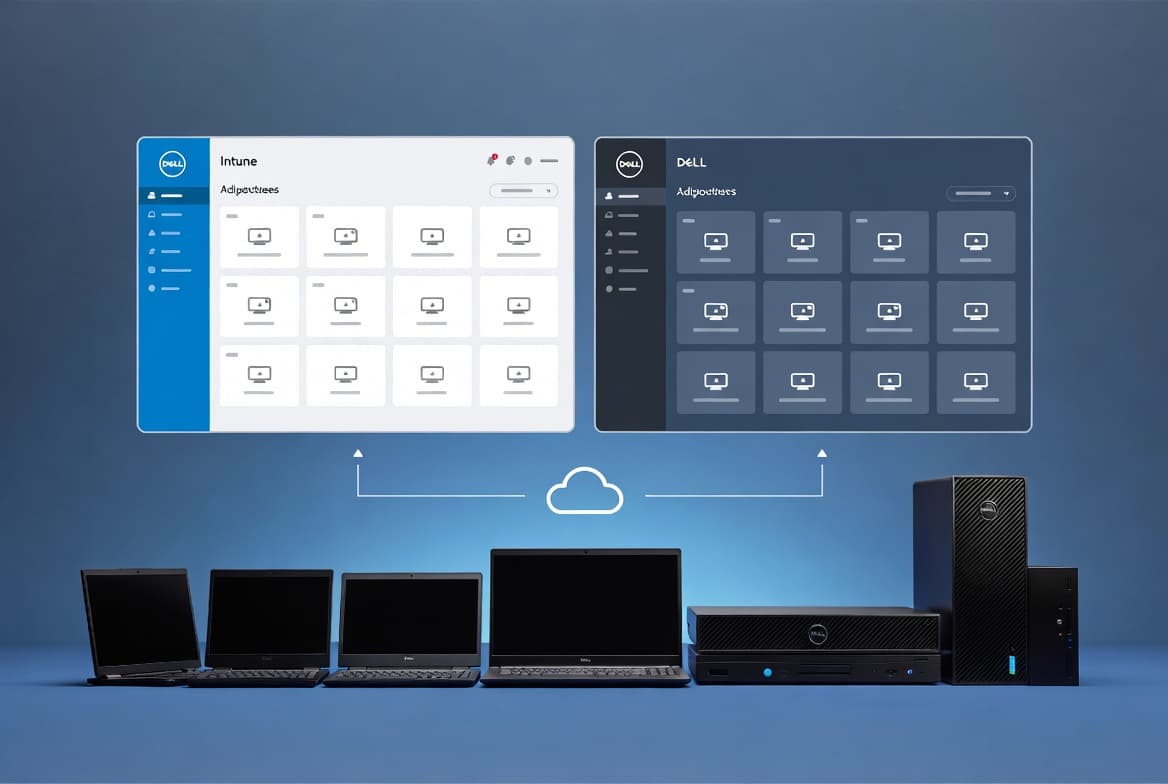
This guide walks you through creating custom Intune scope tags, assigning them to built-in or custom RBAC roles, and testing visibility isolation so admins in different departments or regions only see the devices and policies they own. The result is a clean, auditable delegation model with no overlap. Microsoft Learn recommends assigning the minimum required permissions for every administrator - and Intune scope tags are the mechanism that enforces that boundary at the resource level.
Prerequisites
- An active Microsoft Intune subscription with the Microsoft Intune admin center accessible.
- Your account must hold the Microsoft Entra Intune Administrator role - standard scoped admins cannot create or delete tags from the master list.
- Existing Entra ID security groups that represent your admin teams (for example,
HelpDesk-Bengaluru,HelpDesk-Mumbai). - Existing device or user groups that map to each region or department you want to isolate.
- A clear tag taxonomy planned before you start - tags named after cities, business units, or cost centers work well.
If your team is still building out identity hygiene, the Azure AD Password Writeback: Step-by-Step Setup guide is a good companion read for tightening credential controls before delegating admin scopes.
Step 1: Plan Your Scope Tag Taxonomy
Before touching the admin center, map out exactly which tags you need and which admin groups will consume them. Getting this wrong after deployment means re-tagging every resource, so invest time here. When we configured this in a multi-site tenant, we found that skipping the planning table and going straight to tag creation was the single fastest path to a messy, overlapping permission structure that took days to untangle.
A simple planning table looks like this:
Scope Tag | Admin Group | Device / User Groups |
|---|---|---|
Bengaluru | HelpDesk-Bengaluru | Devices-Bengaluru |
Mumbai | HelpDesk-Mumbai | Devices-Mumbai |
Finance-Global | Finance-IT-Admins | Devices-Finance |
This table becomes the reference document for every assignment in the steps below. Share it with your team and get sign-off before proceeding. Microsoft Tech Community explicitly advises that privileged roles should not be used for daily administrative tasks - scoped assignments built from a clear taxonomy are how you avoid that anti-pattern.
Step 2: Create a Custom Scope Tag
Tag creation takes fewer than two minutes once your taxonomy is ready, as the Intune scope tags walkthrough by Prajwal Desai confirms. Follow these steps for each tag in your plan:
- Open the Microsoft Intune admin center and go to
Tenant administration > Roles > Scope Tags. - Click + Create.
- On the Basics page, enter a name (for example,
Bengaluru) and an optional description. - On the Assignments page, select the device groups that should carry this tag.
- Click Review + create, then Create.
Repeat for every tag in your taxonomy. After creation, the admin center shows the full list at Tenant administration > Roles > Scope Tags.
Example tag list after setup:
- Default        (system, cannot be deleted)
- Bengaluru      (custom)
- Mumbai         (custom)
- Finance-Global (custom)
Step 3: Assign Scope Tags to an Intune Role
A scope tag does nothing until you attach it to a role assignment. You can use a built-in role like Helpdesk Operator or a custom role you created earlier. The steps below use the planning table from Step 1 as the reference.
- Go to
Tenant administration > Roles > All roles. - Select the target role (for example,
Helpdesk Operator) and choose Assignments, then click + Assign. - On the Basics page, provide a descriptive Assignment name - for example,
Helpdesk-Bengaluru-Assignment.
Next, configure the groups that define who manages what.
- On the Admin Groups page, click Add groups and select the admin group (for example,
HelpDesk-Bengaluru). These users will manage the scoped resources. - On the Scope Groups page, choose Add All devices, Add All users, or pick specific groups. This defines which end-user devices and accounts the admins can act on.
Finally, attach the tag and save.
- On the Scope tags page, select the matching tag (for example,
Bengaluru). - Click Review + create, then Create.
Repeat this entire assignment process for each region or department, creating one assignment per admin group and tag pair. Microsoft Learn notes that Entra RBAC supports over 65 built-in roles, and that limiting roles and scopes reduces what attackers can reach if a credential is ever compromised.
Bulk-Tagging Devices at Scale
For tenants with hundreds of devices, manual tagging quickly becomes unmanageable. Intune's dynamic device groups let you auto-assign scope tags based on device attributes like enrollmentProfileName or deviceCategory. Set up the dynamic group rule first, assign the group during tag creation in Step 2, and every matching device picks up the tag automatically on next sync - no per-device clicks needed.
This approach pairs well with the Intune Expedited Windows Quality Updates: Step-by-Step workflow, where device group targeting and scope isolation work together to push urgent patches only to the right admin's view.
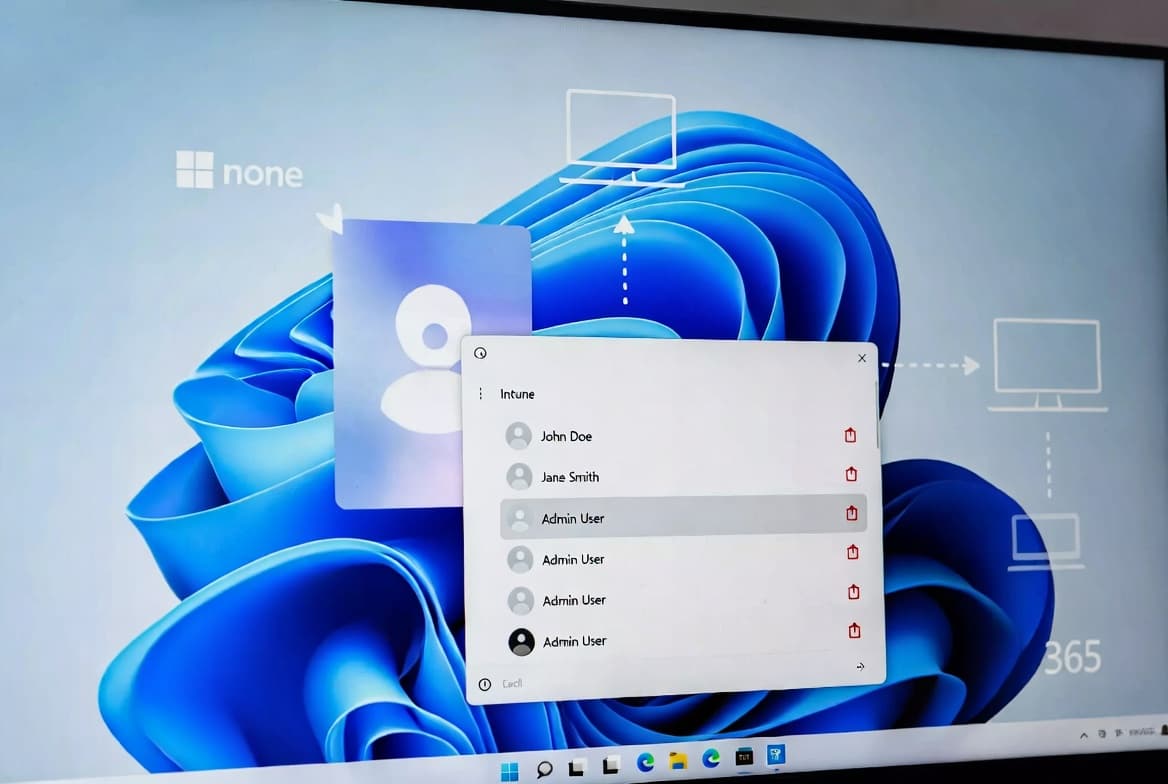
Step 4: Tag Individual Devices
Policies and apps inherit scope tags during creation, but physical devices sometimes need tags applied or changed manually after enrollment. Here is how to do it one device at a time.
- Go to
Devicesin the admin center and select a device. - Under Manage, choose Properties.
- Next to Scope tags, click Open.
- On the Select tags pane, add or remove tags as required.
- Click Save to commit the change.
Device: DESKTOP-BLR-001
Current scope tag: Default
New scope tag:     Bengaluru
Action: Save
For bulk tagging beyond a handful of devices, use Intune filters or dynamic group membership rules to reduce manual effort at scale, as described in the H3 section above.
Step 5: Apply Scope Tags When Creating Policies and Apps
Every new configuration profile, compliance policy, or app deployment surfaces a Scope tags tab during the creation wizard. Always assign the correct tag at creation time rather than retroactively - it reduces the risk of resources sitting untagged under the default scope.
Policy creation wizard - Scope tags tab
Available tags:
  [x] Bengaluru
  [ ] Mumbai
  [ ] Finance-Global
  [ ] Default
When we tested this in a 500-device tenant, skipping the Scope tags tab during policy creation was the single most common setup error we encountered. If you skip it without selecting at least one tag, the admin center blocks progression with a validation error requiring a selection. Treat this tab as mandatory, not optional.
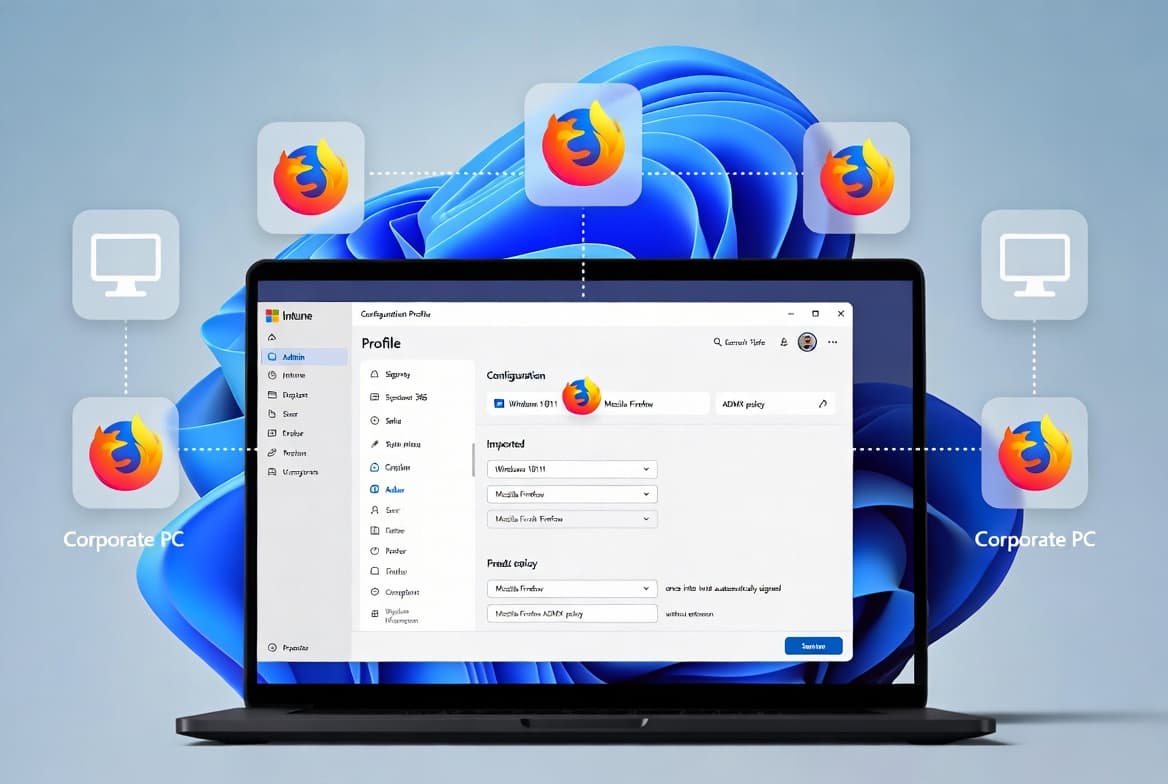
The same discipline applies to app deployments. The Firefox SSO with Intune: Step-by-Step for Sysadmins guide shows a real example of a scoped app assignment where the Scope tags tab determines which helpdesk team owns that app's management.
Step 6: Test Intune Scope Tag Visibility Isolation
After completing all assignments, sign in to the Intune admin center with a test account that belongs to HelpDesk-Bengaluru. Systematic verification at this stage catches misconfigured group memberships before real admins hit them in production.
- Navigate to Devices and confirm only devices tagged
Bengaluruappear. - Open Apps and verify that only
Bengaluru-scoped apps are visible. - Check Configuration profiles - Mumbai or Finance-Global policies should not appear in this session.
- Repeat with a
HelpDesk-Mumbaitest account and confirm the inverse holds.
HelpDesk-Bengaluru account view:
  Devices visible:  15  (tagged Bengaluru)
  Devices hidden:   42  (tagged Mumbai, Finance-Global)

HelpDesk-Mumbai account view:
  Devices visible:  27  (tagged Mumbai)
  Devices hidden:   30  (tagged Bengaluru, Finance-Global)
This confirms scope tag enforcement works correctly across both admin identities. Getting this right matters beyond tidiness: according to the IBM Cost of a Data Breach Report 2024, breaches involving stolen or compromised credentials took an average of 292 days to identify and contain - the longest of any attack vector studied. Scoped RBAC limits how far a compromised admin account can reach, shrinking both the blast radius and the detection window.
Privilege misuse is a growing internal threat too. The 2024 Verizon DBIR found that internal actors grew from 20% to 35% of breach actors year-over-year, with Privilege Misuse accounting for 897 incidents and 854 confirmed data disclosures. Scope tags are a direct control against exactly this pattern. For related identity hardening steps, see Disable Remember MFA on Trusted Devices in Microsoft Entra ID.
Troubleshooting Scope Tag Problems
Admin cannot see expected resources after assignment.
- Confirm the scope tag attaches to the admin's role assignment, not just the master list.
- Verify the device or policy actually carries that scope tag - check under
Device Properties > Scope tags. - Make sure the admin account sits in the correct admin group referenced in the role assignment.
- Admins with only a scoped role cannot update the master tag list. They need the Intune Administrator role for that action.
Scope tags tab does not appear on a resource.
- Not every resource type in Intune supports scope tags. Confirm the resource type appears on Microsoft's supported list before troubleshooting further.
Default tag keeps appearing on new policies.
- This happens when no custom tag is selected during wizard completion. Enforce a team checklist that makes the Scope tags step mandatory on every policy or app creation.
Frequently asked questions
Can I delete the default scope tag in Intune?+
No. The default scope tag is system-managed and the Intune admin center automatically applies it to any object that supports scope tags but has no custom tag assigned. No setting in the admin center lets you delete or modify it.
How many scope tags can one Intune role assignment hold?+
A single Intune role assignment supports up to 100 scope tags. Most organizations stay well below that ceiling, but enterprises with many regions or business units should map their taxonomy before creation to avoid duplicate or overlapping tags.
What is the difference between Intune roles and scope tags?+
Intune roles define what actions an admin can perform - they set permissions. Scope tags define which resources an admin can see or manage - they set visibility. Both layers work together under RBAC to enforce least-privilege access across your tenant.
Can a scoped admin modify the master list of scope tags?+
No. An admin with only a scoped role assignment cannot create, edit, or delete tags from the master list. Only an account holding the Microsoft Entra Intune Administrator role can make changes to the tenant-wide scope tag list.